Pointillism, pioneered by Georges Seurat, teaches students to build images from tiny dots, encouraging observation and color theory. In class, teachers guide learners to mix hues on a palette, then apply dots to a canvas, revealing a vibrant whole. Students mix hues, then dot, watching light merge into whole
Historical Context and Key Artists
Pointillism emerged in the late 19th century as a radical departure from traditional brushwork, championed by Georges Seurat and Paul Signac in Paris. Their 1886 exhibition at the Salon des Indépendants marked the formal birth of the technique, which relies on tiny, discrete dots of pure color that blend optically in the viewer’s eye. Seurat’s masterpiece, A Sunday Afternoon on the Island of La Grande Jatte, exemplifies the method’s scientific precision, while Signac’s vibrant seascapes expanded its expressive range. The movement, often linked to Divisionism, drew on contemporary color theory and the work of scientists like Michel Eugène Chevreul, who explained how juxtaposed hues interact. By the 1890s, pointillist ideas spread across Europe, influencing artists such as Henri-Edmond Cross and the Spanish group Les Nabis, and later inspiring the Fauves and early Cubists. Today, pointillism remains a foundational study in color theory, optics, and the relationship between perception and representation, offering teachers a concrete way to explore how small elements coalesce into complex visual narratives.
In addition, the technique’s influence extended beyond fine art into popular culture. The meticulous dotting process has parallels in pointillist mosaics and pixel art, bridging the gap between traditional painting and contemporary visual communication. Teachers can leverage this historical breadth to connect pointillism with modern aesthetics, encouraging students to experiment with color layering, texture, and the interplay of light and shadow in both analog and digital formats.!
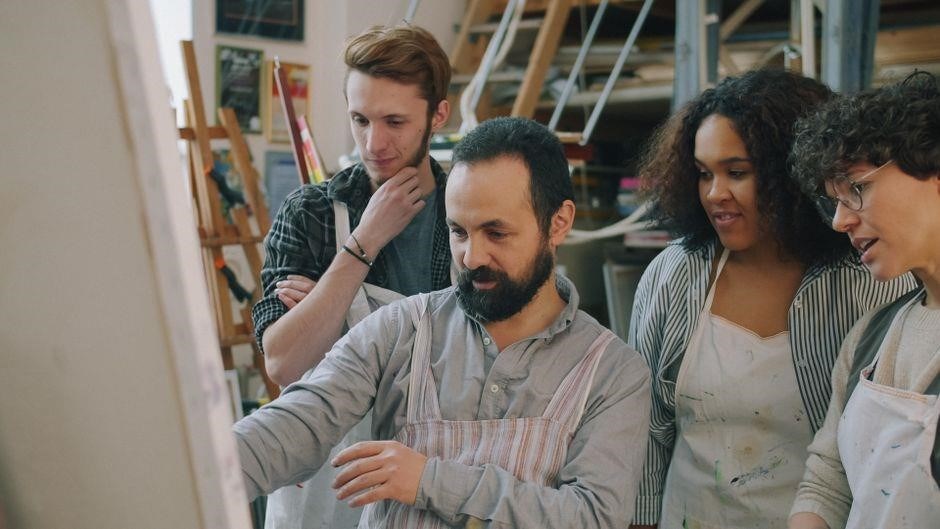
Fundamental Principles of the Technique
Pointillism’s core lies in the deliberate placement of individual, monochromatic dots that, when viewed from a distance, coalesce into a unified image. Teachers begin by teaching the science of optical mixing: adjacent hues blend in the eye rather than on the palette. Students practice by laying out a color wheel, selecting complementary pairs, and applying them in tight, evenly spaced strokes. The technique demands rigorous observation; pupils learn to translate a scene into a grid of discrete points, noting light intensity, shadow, and saturation. A key principle is the use of pure pigments; dilution is discouraged because it softens the dot’s vibrancy. Another is dot spacing: denser clusters create darker tones, while sparse arrangements yield lighter values. Teachers also emphasize the importance of a consistent dot size; variation can disrupt the optical harmony. Finally, the method encourages patience and precision, as the final image emerges gradually, revealing how individual elements collaborate to produce depth, texture, and movement. In practice, teachers encourage students to experiment with dot density, color saturation, and spatial arrangement, allowing them to observe how subtle shifts in hue or dot size alter the overall perception of depth and motion. By integrating technology, such as digital pointillism apps or high‑resolution scanning, pupils can analyze the optical mixing process in real time, fostering analytical skills and a deeper appreciation for the interplay between individual marks and the collective image.!!
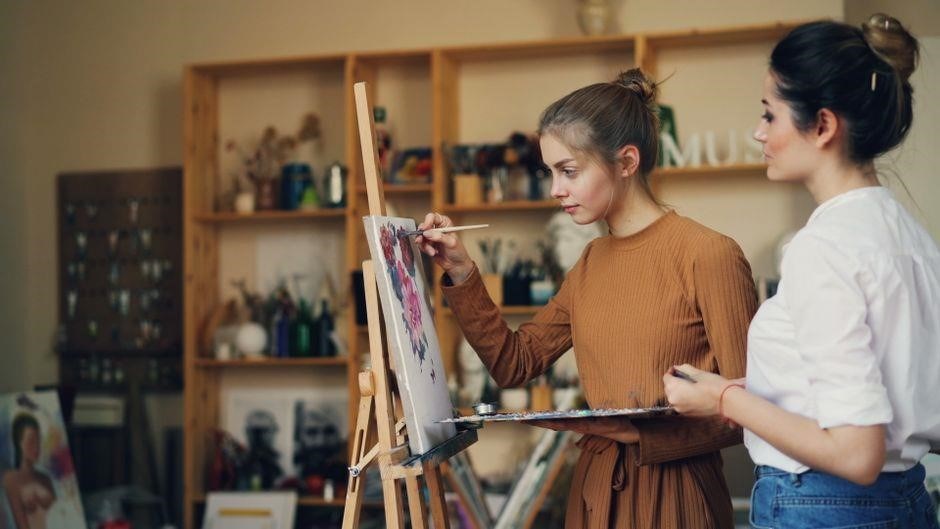
Curriculum Design for Secondary Key Stages
Teachers design a scaffolded unit, beginning with color theory, progressing to dot application, culminating in a student‑led exhibition. Assessment blends peer review, self‑reflection, and a portfolio of sketches, finished works, and process notes. Students reflect.!!
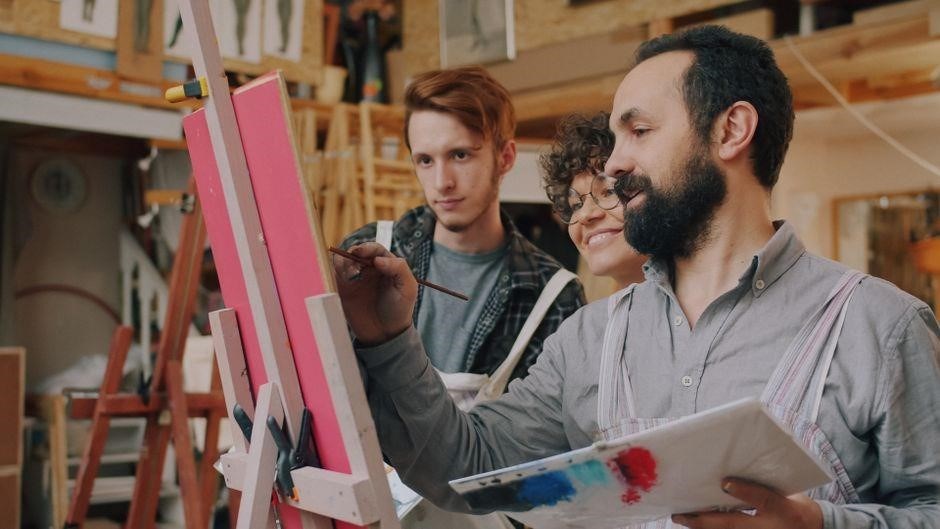
Lesson Objectives and Learning Outcomes
By the end of the unit, students will demonstrate mastery of pointillist techniques, applying precise dot placement to create nuanced plant imagery and culturally themed scenes such as Rosh Hashanah. They will identify primary and secondary colors, understand optical mixing, and articulate how dot density influences perceived brightness. Students will plan compositions, sketch thumbnails, and transfer designs onto canvas or paper, using a limited palette to explore hue interaction.
They will evaluate their own work against criteria such as consistency of dot size, tonal balance, and thematic relevance, and revise accordingly. Through peer critique and reflective journals, learners will develop critical observation skills, articulate artistic intent, and showcase progress in a culminating exhibition that integrates both botanical and holiday motifs. The lesson objectives align with national art standards, fostering technical skill, cultural literacy, and creative expression.
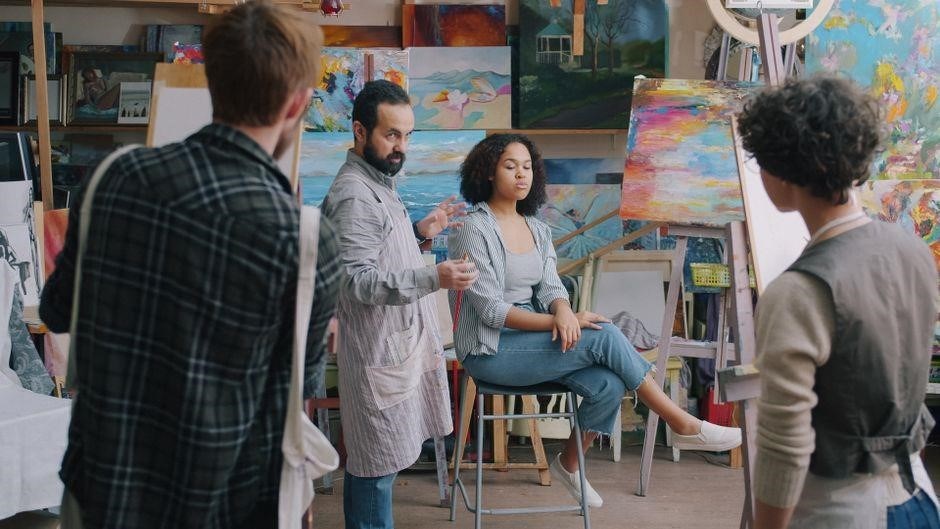
Students will also examine pointillism’s history, comparing Seurat and Signac with modern works. They will chart color palettes, dot density, and themes, noting shifts. Learners will reflect on environmental messages, using plant images to highlight biodiversity. Digital tools let them experiment with virtual dotting, seeing how pixelation changes perception. The unit ends with a portfolio presentation, where students share their artistic journey and cultural significance.
Students will write a reflective journal entry today for now.
Assessment Strategies
Assessment in a pointillism unit blends formative and summative methods. Formatively, teachers use quick check‑lists during guided practice: dot size consistency, color mixing accuracy, and thematic relevance to the plant or Rosh Hashanah motif. Peer‑review circles provide instant feedback, encouraging students to articulate strengths and areas for refinement.
Summatively, a rubric evaluates technical execution, creative composition, and cultural context. Students submit a portfolio of sketches, finished canvases, and a reflective journal that links color theory to the chosen theme. The final exhibition allows classmates to critique each piece, fostering deeper understanding of optical mixing and narrative intent.
Digital tools support assessment: students scan their work, and a software app measures dot density and color distribution, giving quantitative data for self‑analysis and peer comparison. Teachers record video walkthroughs of the creative process, enabling self‑assessment and peer comparison. This multimodal approach ensures that learners demonstrate mastery of pointillist technique while engaging with the cultural significance of plant imagery and Rosh Hashanah celebrations.
Teachers also integrate cross‑curriculum links, asking students to research plant biology or Jewish symbolism, then translate findings into pointillist form. This inquiry fosters critical thinking and contextual awareness, while the Rosh Hashanah theme invites reflection on renewal, growth and community values enriching the artistic experience daily every

Instructional Resources and Materials
Use the free plant‑themed pointillism PowerPoint to introduce dot‑mixing basics. The ready‑to‑teach Rosh Hashanah art pack supplies canvas, color palettes, and themed prompts. Provide high‑resolution images, color charts, and a step‑by‑step guide for each lesson!!!.
Plant-Themed Pointillism PowerPoint
This free, downloadable PowerPoint serves as a foundational guide for teachers introducing pointillism. It features a step‑by‑step visual walkthrough of the technique, with each slide illustrating how to mix complementary colors and apply them as tiny, discrete dots. The presentation includes high‑resolution images of botanical subjects—leaves, stems, flowers—so students can practice observing subtle tonal variations. Teachers can pause at key moments to discuss the science of light and color, reinforcing concepts from the curriculum. The slides also provide printable worksheets that prompt students to plan their dot placement, encouraging pre‑visualization before committing to the canvas. Additionally, the resource offers a quick‑start checklist for classroom setup, ensuring that every student has the necessary brushes, palette knives, and a selection of primary pigments. By integrating this PowerPoint into the lesson, educators can streamline instruction, maintain pacing, and provide a visual scaffold that supports both novice and advanced learners.
In addition, the PowerPoint includes a color wheel diagram that demonstrates how primary hues blend to form secondary shades, reinforcing the scientific basis of pointillism. Students are encouraged to experiment with color mixing on a test sheet before applying dots to the main canvas. The lesson also incorporates an assessment quiz that checks understanding of dot density, color harmony, and the role of negative space in creating depth. Teachers can use the provided answer key to give feedback and adjust pacing as needed.
Hands‑On Rosh Hashanah Art Pack
The Hands‑On Rosh Hashanah Art Pack is a ready‑to‑teach collection that transforms the Jewish New Year into a memorable pointillism lesson. It includes a step‑by‑step guide, color‑mixing worksheets, and a set of printable templates featuring traditional symbols such as apples, honey, and pomegranates. Teachers can use the pack to demonstrate how to build images from tiny dots, encouraging students to observe light, shadow, and color relationships. The pack also supplies a list of recommended pigments, brushes, and canvas sizes, ensuring that every classroom has the materials needed for a successful project. Students are guided through the process of planning their composition, mixing complementary hues on a palette, and applying dots in a controlled manner to create depth and texture. The lesson culminates in a group exhibition where students display their finished works, fostering a sense of community and cultural celebration. Additionally, the pack offers a reflection worksheet that prompts learners to write about their experience, the challenges they faced, and how the pointillism technique helped them understand the symbolism of Rosh Hashanah.
To further engage students, the pack includes a “dot‑mix” activity where pupils experiment with blending primary colors on a small canvas before transferring the technique to the main artwork. Teachers can also incorporate a digital component bright by having students scan their dot patterns and use software to analyze color distribution and reinforcing analytical skills. The pack’s supplementary resources feature a video tutorial that illustrates the historical context of pointillism and its relevance to modern artistic expression. By integrating these elements, educators provide a holistic learning experience that connects artistic technique, cultural heritage, and scientific observation!
Teaching Methodology and Classroom Activities
Teachers scaffold learning by first modeling dot application, then guiding students through color‑mixing worksheets. Students practice in small groups, followed by independent creation and peer review to reinforce observation, precision, collaborative critique.
Demonstration and Guided Practice
During the demonstration, the teacher projects the plant‑themed Pointillism PowerPoint, allowing students to observe a finished image before any work begins. The instructor explains the science of optical mixing, showing how each tiny dot of pigment, when viewed from a distance, blends with surrounding dots to create a new hue. Students receive a small canvas, a set of primary and secondary paints, and a fine‑pointed brush. In guided practice, the teacher walks around the classroom, offering individualized feedback on dot placement, color mixing, and spacing. Students are encouraged to experiment with hue saturation, using the Rosh Hashanah art pack as a cultural reference to create symbolic motifs that celebrate the Jewish New Year. The teacher models a simple flower, demonstrating how to layer light and dark tones to build depth and dimension. Students replicate the flower on their own canvases, applying the same step‑by‑step process. After the first round, the teacher pauses for a brief discussion, asking students to describe how their dot density affects the perceived color. The activity also integrates technology by having students scan their finished canvases with a tablet, using a simple app that overlays the dot pattern to visually demonstrate how the dots merge into a cohesive image. This digital feedback reinforces the tactile learning experience and encourages reflective practice. The teacher then introduces a quick peer‑review activity where students swap canvases and provide constructive comments on technique and composition. Finally, the teacher organizes a gallery walk, where students display their canvases and classmates comment on technique and color harmony, solidifying understanding of pointillist principles daily!! Students also discuss color theory. Mix.?!
Independent Creation and Peer Review
After the guided practice, students receive a blank canvas and a color palette that includes primary, secondary, and tertiary shades. They are instructed to choose a plant motif from the PowerPoint or a Rosh Hashanah symbol, then plan the composition by sketching a light outline. Using a fine‑pointed brush, each student applies dots in a systematic grid, experimenting with dot density to control color intensity. The teacher circulates, offering feedback on dot placement, color blending, and overall balance. Once the first layer is complete, students swap canvases and conduct a structured peer review: they assess the use of optical mixing, the effectiveness of the chosen motif, and the clarity of the final image. Reviewers write brief comments on a rubric that includes accuracy of color, dot consistency, and creative interpretation. Students then revise their work based on peer feedback, adding or adjusting dots to enhance depth and contrast. The process culminates in a gallery walk where each student presents their finished piece, explaining their technique and how they incorporated the Rosh Hashanah theme. This cycle reinforces independent artistic decision‑making, critical observation, and collaborative critique, essential skills for mastering pointillism and for broader visual literacy. Students log their dot‑count in a spreadsheet, recording colors used. This data helps them analyze color density and plan future works. The teacher encourages reflection on how dot placement affects mood, guiding students to consider light and emotion!
Reflection and Extension Activities
After students complete their pointillist canvases, the teacher initiates a reflective dialogue that encourages metacognition about technique, color theory, and cultural relevance. Students answer prompts such as: “Which color combinations produced the most luminous effect?” and “How did the dot density alter the perceived texture of the plant?” The teacher records responses in a shared digital journal, allowing future comparison across cohorts.
Extension projects build on the plant motif and Rosh Hashanah theme. One activity is to create a mixed media collage that juxtaposes a pointillist background with hand‑drawn Hebrew letters, reinforcing the link between visual art and textual tradition; Another is a “color‑mixing laboratory” where students experiment with subtractive versus additive mixing by layering transparent gels over their dot layers, documenting changes in hue and saturation. Students explore how dot density shapes perceived color now
For advanced learners, the teacher introduces a “digital pointillism” module. Students use a graphics tablet to place virtual dots, learning how software simulates optical blending. They then export their digital images and compare them side‑by‑side with their physical canvases, discussing the advantages and limitations of each medium.
Finally, the class organizes a community exhibition. Students curate a small gallery, write explanatory placards, and invite parents to view the work. The exhibition is recorded on video, and the teacher uses it as a resource for future lesson planning, ensuring continuous improvement in instructional design.